It is a serious challenge and unless you live in the tropics, you need a real greenhouse. Otherwise it is a practical hobby. It take three years of real attention and that means growing plenty of them in the first place.
Actual processing turns out to be easy and there is a ready market in terms of value in the natural extract. Using alcohol to extract is a start and this is followed by dilution to the level you want.
This hobby needs to be out there as a craft industry.
.
How to Plant and Grow Vanilla Beans
Written by Ruth LovettSmith on Nov 21, 2009 Reviewed by Gabriel Connor Salter on Jan 15, 2020
1-2 hours •Beginner •50-150What You'll Need
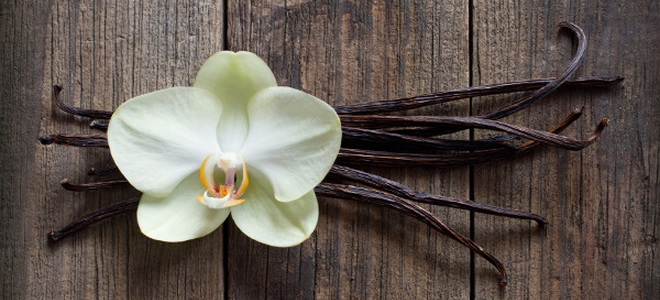
Do you love to bake? Are you constantly running out of vanilla extract? Try growing your own vanilla beans for a fresh supply of vanilla year-round.The vanilla bean plant is a flowering vine that is actually part of the orchid family Orchidaceae. The most common vanilla bean plant is the flat-leaved vanilla plant (V. planifolia). This vanilla plant is a native to Mexico and is where most vanilla flavoring is derived.Vanilla plants are climbing plants that prefer high humidity and bright, indirect sunlight. They also require ample water and extremely warm temperatures. If you can provide the right growing conditions, you can grow your own vanilla at home.Step 1 – Purchase Your Vanilla Bean PlantYou'll need to purchase a vanilla bean plant from a reputable grower. As a vanilla plant takes 3-5 years to bloom, it doesn't make sense to try to start a plant from seed. You can do an online search for “vanilla bean plants” or “vanilla orchids.” Or visit a local orchid grower, if there is one in your area.Step 2 – Transplant Your Vanilla Bean PlantHopefully you were able to purchase a healthy vanilla bean plant that is 3-5 years old. Depending on its size, you'll want to transplant it into a more permanent pot. Choose a pot that is slightly larger than the pot your plant arrived in. You can also use a pot that is up to two times the original pot size. However, try not to use a pot much larger than your vanilla bean plant.Fill your pot halfway with a potting mix made for orchids. Alternatively, you can use a mixture of half bark and half general purpose potting mix.Gently release your vanilla plant from its original pot by lightly squeezing the bottom of the pot (if it's plastic). Be careful not to pull the plant out by its stem. If the plant comes out easily, you can simply place it in the new pot and fill to the top with soil. If the plant is root-bound, meaning there are lots of roots clumped into a ball, you'll want to gently pull at the bottom of the root ball with your fingers. This will help to release the roots into the soil of the new pot.Step 3 – Support Your Vanilla Bean Plant
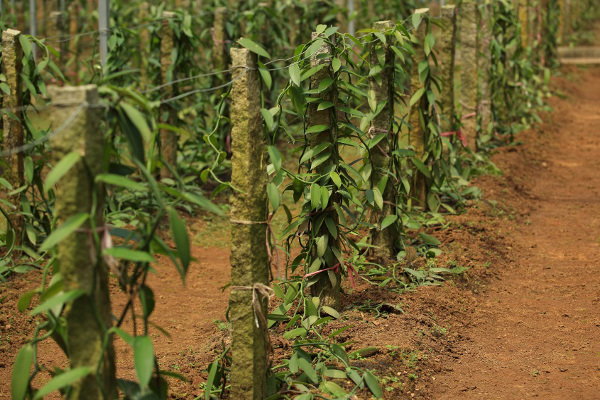
Vanilla bean plants are climbing plants that need support. Gently push your support stake into the pot, near the base of the vine. Be careful not to nick the vine or get too close to the main roots. If your vine is large, you can use multiple stakes or a lattice frame made for climbing plants.Step 4 – Water Your Vanilla Bean PlantYou'll want to keep the top layer of the potting mix damp, however, you don't want the entire pot to be soaked. You'll also need to lightly mist the entire plant daily or every other day.Step 5 – Create the Perfect Growing Environment
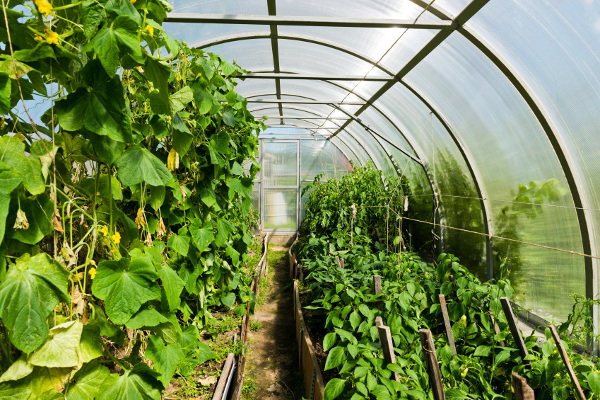
You can grow a vanilla bean plant at home. However, it won't bloom in low light conditions. If your plant doesn't bloom, it won't develop vanilla bean pods.Vanilla bean plants do best in environments with regular warm temperatures, bright indirect sunlight, and high humidity. While a greenhouse is the perfect place to grow a vanilla bean plant, you can also create that type of environment at home.Find a room and/or sunny window that stays warm. Make sure the window has bright but filtered sunlight. If you don’t have that type of window, purchase grow lights and set up your plant and lights in a room that is warm year-round.Step 6 – Fertilize Your Vanilla Bean PlantYou'll want to fertilize your vanilla bean plant every two weeks during the spring and summer months. The best type of fertilizer for a vanilla bean plant is orchid fertilizer.Step 7 – Pollinate Your Vanilla Bean Plant
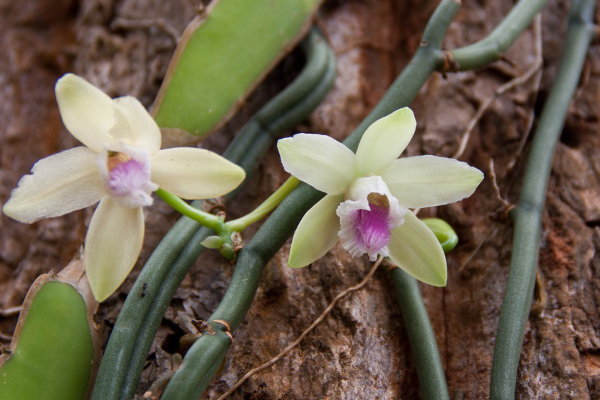
Vanilla bean plants need to be pollinated in order to produce vanilla bean pods. You can hand pollinate vanilla plant flowers, however, it can be extremely difficult and may take several tries.To pollinate a vanilla bean plant you'll need to remove some pollen (with a toothpick) from the anther of a flower and place it on the stigma. This process is best completed mid-morning. The stigma of a vanilla bean plant is covered by a shield. You'll need to gently peel this shield back, place the pollen along the column, and then push the shield back in place.Should the process work, you'll see vanilla pods start to form within one week. After 8-9 months you'll be able to harvest your vanilla beans. If you have difficulty, do an internet search on “pollinating vanilla bean plants” and you will find more detailed information and illustrations.Step 8 – Harvest Your Vanilla Beans

You can harvest your vanilla beans as soon as the tips begin to turn yellow. This will happen approximately 8-9 months after pollination.You'll need to sweat and then sun dry/cure the vanilla bean pods for about a month until they are dark brown and leathery. Sweating involves wrapping the vanilla beans in a blanket for 36-48 hours. The beans will start to develop a light brown color. After the sweating process, sun dry the vanilla beans for up to a month. When the vanilla beans turn dark brown and leathery, you are ready to store and use.
No comments:
Post a Comment